How to replace doorbell switch?
Replacing a doorbell switch is a straightforward task that can be done by most homeowners, provided they take the necessary safety precautions. Before starting, it's essential to turn off the power at the circuit breaker to prevent any electrical accidents. Once the power is off, locate the existing doorbell switch near the entrance and remove the screws securing it to the wall. Gently pull the switch out to expose the wiring connections. Next, disconnect the wires from the old switch. Take note of their positions, as you will need to connect them to the new switch in the same way. Attach the wires to the corresponding terminals on the new switch, making sure the connections are secure. Use a screwdriver to tighten the screws, ensuring the wires don’t come loose. Once everything is connected, mount the new switch back onto the wall using the original screws and restore the power at the circuit breaker. After restoring power, test the doorbell to ensure it works correctly. If the chime is too loud or soft, adjust the volume settings if possible. It’s always a good idea to have someone nearby to help with testing or to consult an electrician if you're unsure about handling electrical components. This simple replacement can significantly improve the functionality and appearance of your doorbell system. For those looking to replace a wired doorbell switch, the process is similar but may require more attention to the wiring configuration. Begin by turning off the power at the circuit breaker. Remove the mounting plate of the existing unit and carefully disconnect the wires from the old switch. It's crucial to remember how the wires are connected, as this will guide the installation of the new wired doorbell. Once the wires are properly attached to the new switch, secure the mounting plate back to the wall. If upgrading to a smart doorbell, additional steps such as connecting to Wi-Fi or setting up an app might be required. These tasks could necessitate the help of an electrician to ensure proper installation and functionality. Always double-check all connections before restoring power to avoid any issues. If your doorbell button doesn't have visible screws, it's likely held in place by clips or a snap-on mechanism. To remove it, gently pry the cover off using your fingers or a flat tool like a screwdriver. Look for small notches or gaps where you can insert your fingernail or a thin object to release the clip. For wireless doorbell buttons, the process is similar—gently lift the cover without applying excessive force to avoid damaging the internal components. Once the cover is removed, you can detach the button from its base. If you're replacing the chime box inside your home, use the same method to open it. If you encounter difficulties or feel uncertain, it's best to consult an electrician to avoid damaging the wiring or surrounding surfaces. Safety should always be your top priority when working with electrical systems. To remove a doorbell button cover without screws, start by gently prying around the edges with a flathead screwdriver or similar tool. Be careful not to damage the button or the wall. Most screwless designs use clips or snap-on fittings, so apply gentle pressure to release these clips and pull the cover away from the wall. If the cover is stubborn, check for hidden locking mechanisms that may need to be released. Once the cover is off, you can proceed with maintenance or replacing the button. Always work carefully to avoid damaging the internal wiring or the surrounding area. If you’re unsure, consider seeking professional help to ensure the job is done safely and correctly. Replacing a doorbell chime box begins with turning off the power at the circuit breaker. Locate the existing chime box and remove its cover, either by unscrewing it or gently prying it off if it has no screws. Note the wiring configuration before disconnecting any wires, as this will make reinstallation easier. Unscrew the mounting screws holding the old chime box in place and carefully remove it from the wall. Install the new chime box in the same location, ensuring the wiring matches the original setup. Connect the wires to the appropriate terminals, secure them with screws, and mount the new box to the wall. Replace the cover and restore power, then test the doorbell to confirm it works properly. The doorbell connects to the chime box via specific wire terminals, often marked for easy identification. Connect the wires to the corresponding terminals and secure them with screws. Afterward, mount the new chime box and restore power. Test the doorbell to ensure everything functions correctly. If issues arise, double-check the wiring and connections to the transformer and door switch. A properly installed chime box ensures your doorbell operates smoothly and reliably. Yes, you can replace just the button on a doorbell, especially if it's designed without screws. Start by turning off the power at the circuit breaker to ensure safety. If the button has no visible screws, gently pry off the cover using a flat tool. This will allow access to the internal wiring. To install a new doorbell button, connect the wires to the new unit according to the manufacturer's instructions or by matching the wire colors. If the button is round, carefully pry it off from the base, being cautious not to damage the internal components. Always ensure the connections are tight and secure to maintain proper functionality. Remember, safety should never be overlooked. Always disconnect the power before working on any part of the doorbell system. Replacing just the button can be a quick and cost-effective solution to restore your doorbell's operation. Replacing a traditional doorbell with a Ring doorbell involves several steps, depending on whether it's a wired or wireless model. First, turn off the power at the circuit breaker for safety. Remove the old doorbell by unscrewing it from the wall and disconnecting the wires. For a wired Ring doorbell, follow the manufacturer's instructions to connect the existing wires to the new device, ensuring they are securely fastened with a screwdriver. Mount the Ring doorbell to the wall using the provided screws, and then restore power to test the chime. For a wireless Ring doorbell, choose a location near your door that offers a strong Wi-Fi signal. Use the mounting bracket to mark and drill pilot holes, then attach the bracket to the wall with screws. Insert the rechargeable batteries into the Ring doorbell, align it with the mounting bracket, and snap it into place. Follow the app instructions to complete the setup and adjust the volume settings as needed. This modern upgrade brings advanced features like video monitoring and motion detection, enhancing both security and convenience. If you're installing a Ring Doorbell 2 with an existing doorbell, turn off the power, remove the old unit, and connect the wires to the new one. Secure the backplate with screws, align the Ring Doorbell 2, insert the battery, and restore power to test. For a wired installation without an existing doorbell, run a new line from a power source like a transformer, connect the wires to the Ring unit, and secure it to the wall. Finally, configure the device through the app to ensure it works correctly. The installation cost for a Ring doorbell varies based on whether you do it yourself or hire a professional. DIY installation typically costs between S$100 and S$250, while professional services may add an extra S$100 to S$200, depending on the complexity of the project. Always consider additional components like a chime box or batteries for a complete setup. Switching from a wired to a wireless doorbell is a great way to simplify your setup and enjoy modern features. Start by locating your existing wired doorbell and turning off the power at the circuit breaker. Carefully remove the old doorbell button by unscrewing it or detaching it if there are no screws. Disconnect the wires attached to the old unit once it's removed. Prepare your new wireless doorbell by following the manufacturer’s instructions to attach the button to your door. Most models come with adhesive backing or screws for this purpose. Then, install the transmitter unit, which communicates between the doorbell button and the chime inside your home. Insert the batteries into the new units and ensure they are correctly positioned. Position the chime unit within range of the transmitter and install it according to the manufacturer’s guidelines. This usually involves plugging it into an outlet. For wireless doorbells with cameras, ensure the camera is aligned and tested for optimal viewing angles. Adjust the volume settings on the chime to suit your preferences. If you're upgrading to a Ring doorbell, follow the specific instructions provided by Ring to connect the new device to your existing wiring or a transformer. This includes testing the connection, securing the device to the door frame, and configuring it via the Ring app on your smartphone. The setup process also involves connecting the doorbell to your Wi-Fi network and adjusting settings for sound and motion detection. Replacing a wired doorbell with a wireless one offers benefits like increased range, customizable chime sounds, and enhanced security through integrated cameras. Whether you're doing a simple replacement or a full upgrade, proper installation ensures your new doorbell enhances your home's functionality and security. In Singapore, the cost of replacing a doorbell varies depending on the type of doorbell and whether additional wiring is required. For a standard wired doorbell replacement, you can expect to pay between S$100 and S$300, which typically includes the cost of the doorbell unit and the installation service. If you need to replace the doorbell transformer, this could add an additional S$50 to S$150 to the total cost. Wireless doorbells generally range from S$80 to S$250, depending on the brand and features. Smart doorbells, such as the Ring doorbell, tend to be more expensive due to their advanced features like video monitoring and wireless connectivity. Installation costs for smart doorbells can range from S$150 to S$400, depending on the complexity of the setup. When considering doorbell installation in Singapore, it's important to factor in labor costs, which vary based on the complexity of the job and the expertise of the professional. Local handyman services can provide convenient options for installing or replacing doorbells, ensuring the doorbell is securely attached and functions properly. If you're looking for doorbell installation near you, many local services specialize in both wired and wireless installations. Additionally, various shops offer doorbell units that can be tested and connected to existing wiring. Whether you're replacing batteries in a wireless doorbell or dealing with more complex wiring, a professional installation ensures the system is safe and reliable. For inquiries or to schedule an installation, contact local service providers to get quotes and discuss your specific needs. Professional installation ensures that your doorbell is set up correctly, providing peace of mind and long-term reliability. Whether you're looking for a basic wired doorbell or a high-tech smart model, choosing the right installation service is key to a successful replacement. Yes, you can replace just the doorbell button if you find an affordable replacement that matches the size and shape of the original. Start by preparing the doorbell mount, ensuring the area around the front door is clean and free of debris. Turn off the power at the circuit breaker to ensure safety before proceeding. Gently remove the old doorbell button from the wall using a screwdriver and carefully disconnect the wires attached to the back of the unit. Next, connect the wires to the new doorbell button by twisting the exposed ends around the corresponding screws on the back of the new unit. Make sure the connections are tight and secure to ensure proper functioning of the doorbell. Attach the new doorbell button to the wall by aligning it with the mounting plate and securing it with the provided screws. Once the new button is in place, restore power to your house and test the button to ensure it works correctly. Check the sound and volume of the chime in the corresponding room to confirm the installation was successful. This simple replacement can enhance the efficiency and style of your home's entrance. Curious about how a doorbell works? Check out our article to learn more. Yes, it's recommended to hire an electrician to replace a doorbell, especially if you're not familiar with handling electrical components. When installing a new doorbell, it's crucial to ensure all wires and units are correctly connected to avoid any potential hazards. For example, when removing the screws that hold the old doorbell unit in place, you must be careful not to damage the wires or the wall. The mounting plate for the new doorbell must be properly aligned and secured with screws to the house structure. Additionally, the wiring from the transformer to the new unit needs to be carefully managed and matched correctly to ensure proper operation. If any component appears damaged or worn, it should be repaired or replaced to maintain the functionality of the doorbell. Contact a professional such as Lito Electrical Service to handle this task, as they have the necessary tools, like a screwdriver, and expertise to ensure all parts, including the transmitter and screw contacts, are installed safely. Always remember that working with electrical parts can pose a serious risk if not done correctly, so it's best to rely on a skilled electrician for such tasks. If your doorbell still isn't working after being replaced, explore the reasons your doorbell is not working here. Yes, you should always turn off the power to replace the doorbell button. Working with electricity can be dangerous, and ensuring safety is crucial. When replacing different components of a doorbell system, such as the chime unit, doorbell button, and associated wiring, it's important to disconnect the power to avoid electrical shocks. Doorbells typically operate on low voltage, provided by a voltage transformer, but it's still essential to handle the wiring safely. Homeowners should inspect the existing holes and wire connections in the wall frame where the doorbell button will be installed. Using tools like pliers and a screwdriver can help in attaching the new doorbell securely. By taking the time to turn off the power line, you safeguard yourself from potential harm during the installation process. If unsure, consulting with an electrician ensures that your doorbell's sounds work correctly and that all components are properly installed, enhancing the overall safety and functionality of your home's doorbell system. The doorbell button and doorbell design should complement each other. Looking to replace your doorbell button? Here's a guide on how to choose the best smart video doorbell camera for you. You know if your doorbell switch is bad if your doorbell does not ring despite pressing the button. Most homeowners can diagnose this issue by first checking their doorbell transformer. Almost all doorbell transformers are on 100% of the time. The primary is wired into a 120-volt house circuit. To properly diagnose the issue, find the transformer and use a voltmeter to measure the output at the two screws where the individual wires are attached. Typically, one wire goes to the doorbell button, another to the doorbell itself, and a third wire connects from the doorbell to the other side of the button. You should see a reading of 15–24 volts. If your meter shows no reading, test the primary side of the transformer. If it shows 120 volts, then you have a dead transformer and it needs to be replaced. On the other hand, if the primary side does not show 120 volts, check for a tripped circuit breaker in the electrical panel box. Always ensure safety by disconnecting power before working on the doorbell wiring and using insulated tools such as pliers and screwdrivers. Improper handling of electricity can be very dangerous. If you're not confident in fixing the problem yourself, it might be best to contact an electrician. Common issues include faulty wiring, loose screws, or components being stuck, which could be fixed easily with a bit of troubleshooting. Whether you need to replace the doorbell button or other components, being aware of how the different parts work and are connected will help you fix the issue safely and efficiently. 50 Television,50 Inch Hd Television,Television Digital,50 Inch Smart Television Jiangsu Hengye Precision Technology Co.,Ltd , https://www.hengyejmtv.com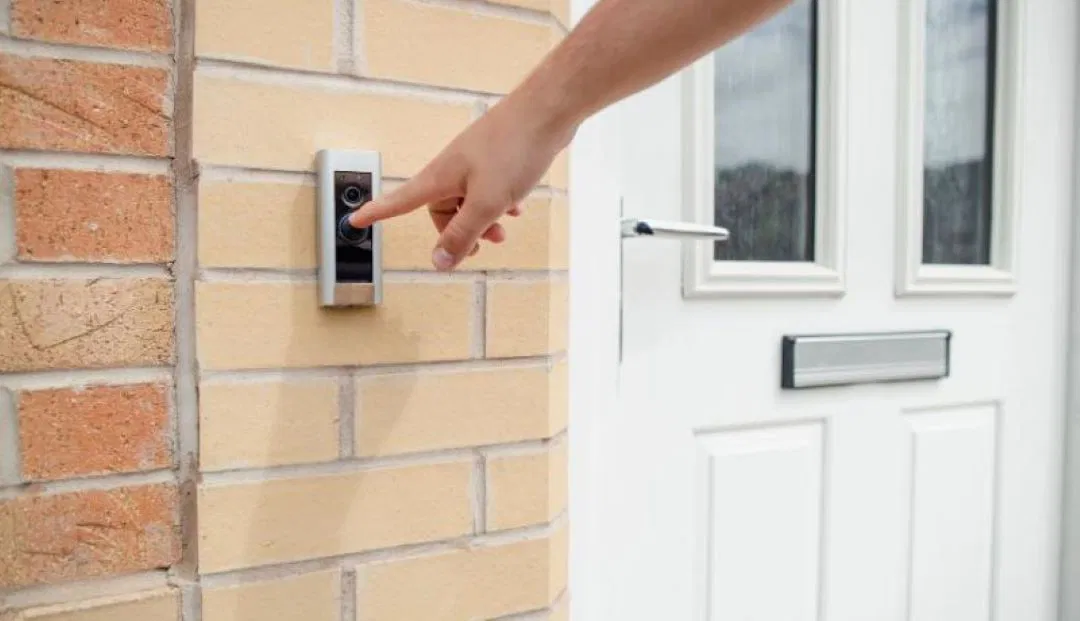
How to Replace a Wired Doorbell Switch?

How to Remove a Doorbell Button with No Screws?
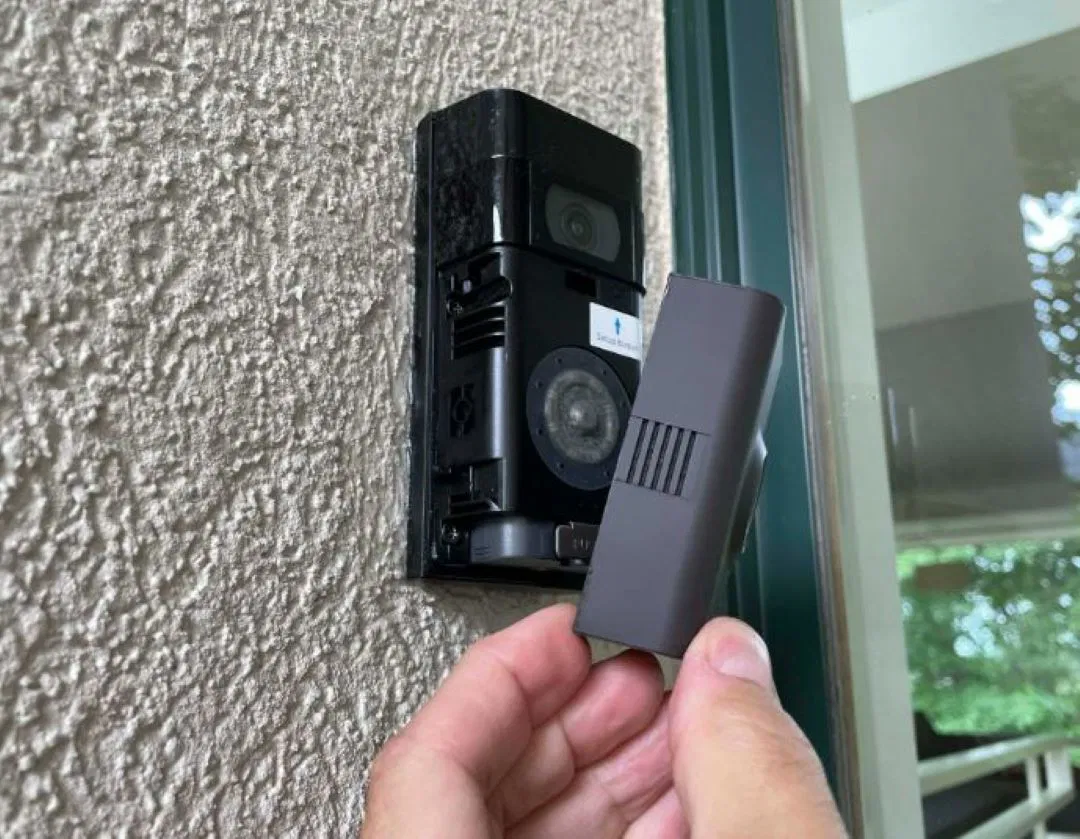
How to Remove a Doorbell Button Cover?
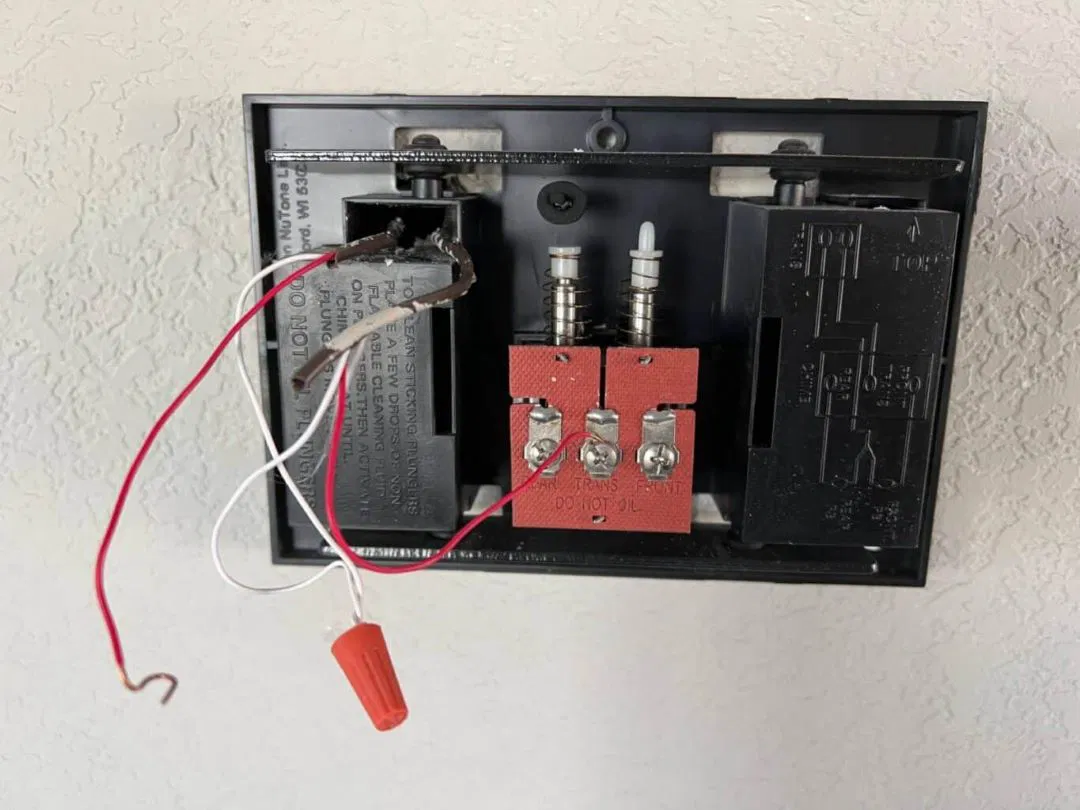
How to Replace a Doorbell Chime Box?
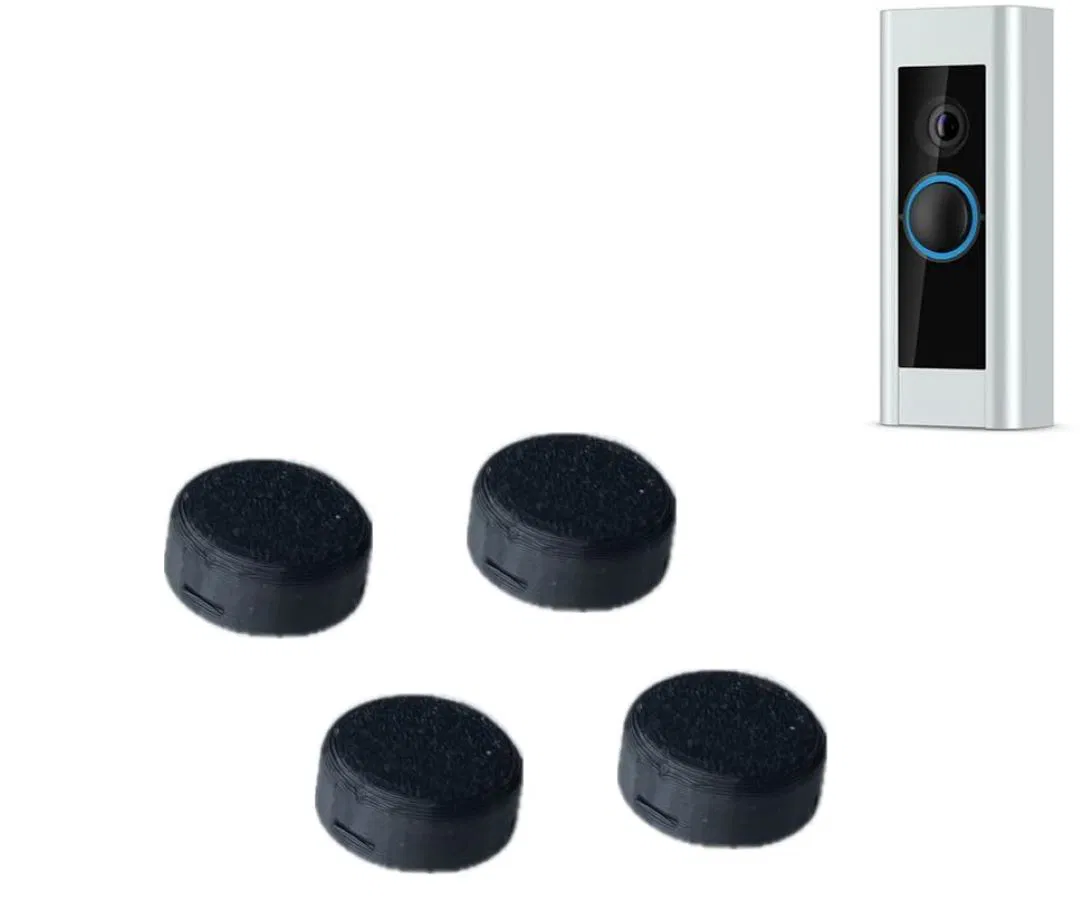
Can I Replace Just the Button on a Doorbell?
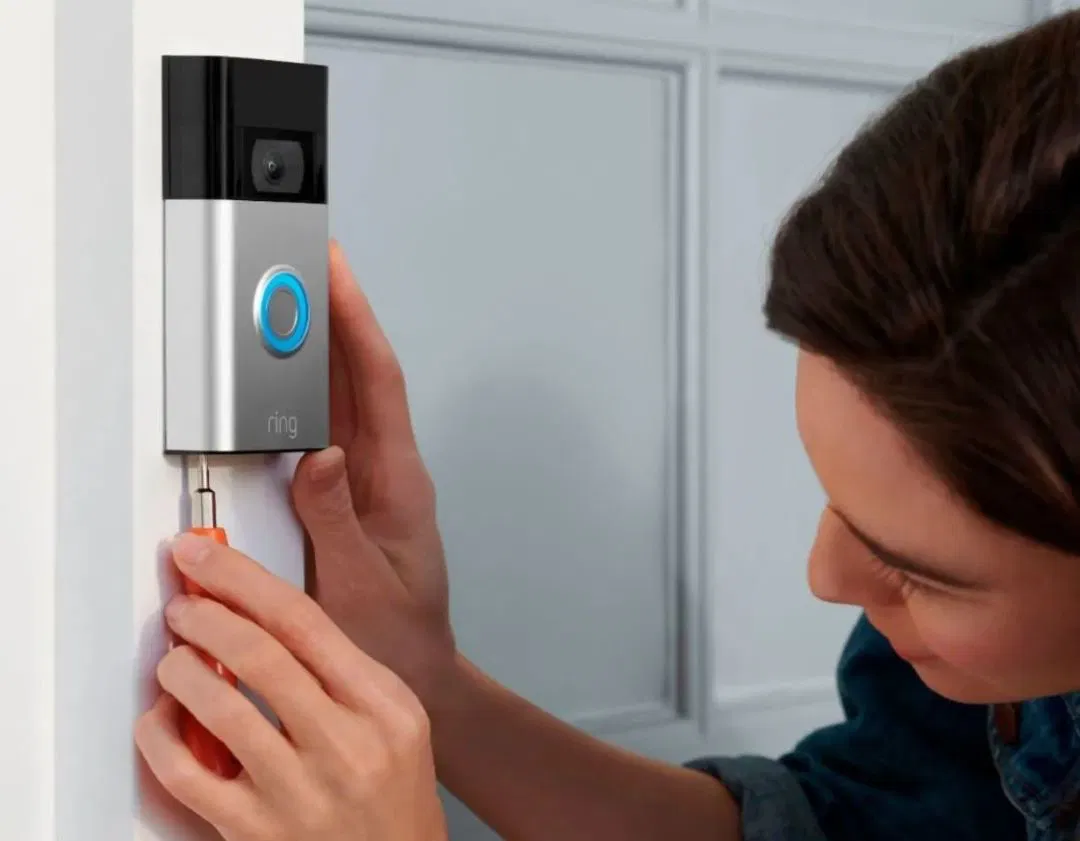
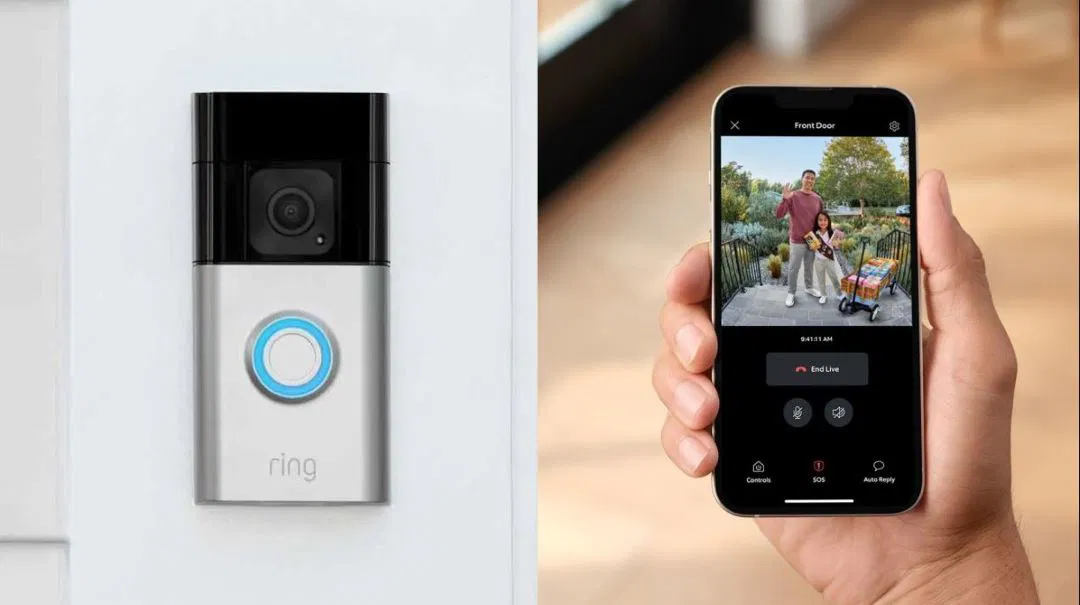
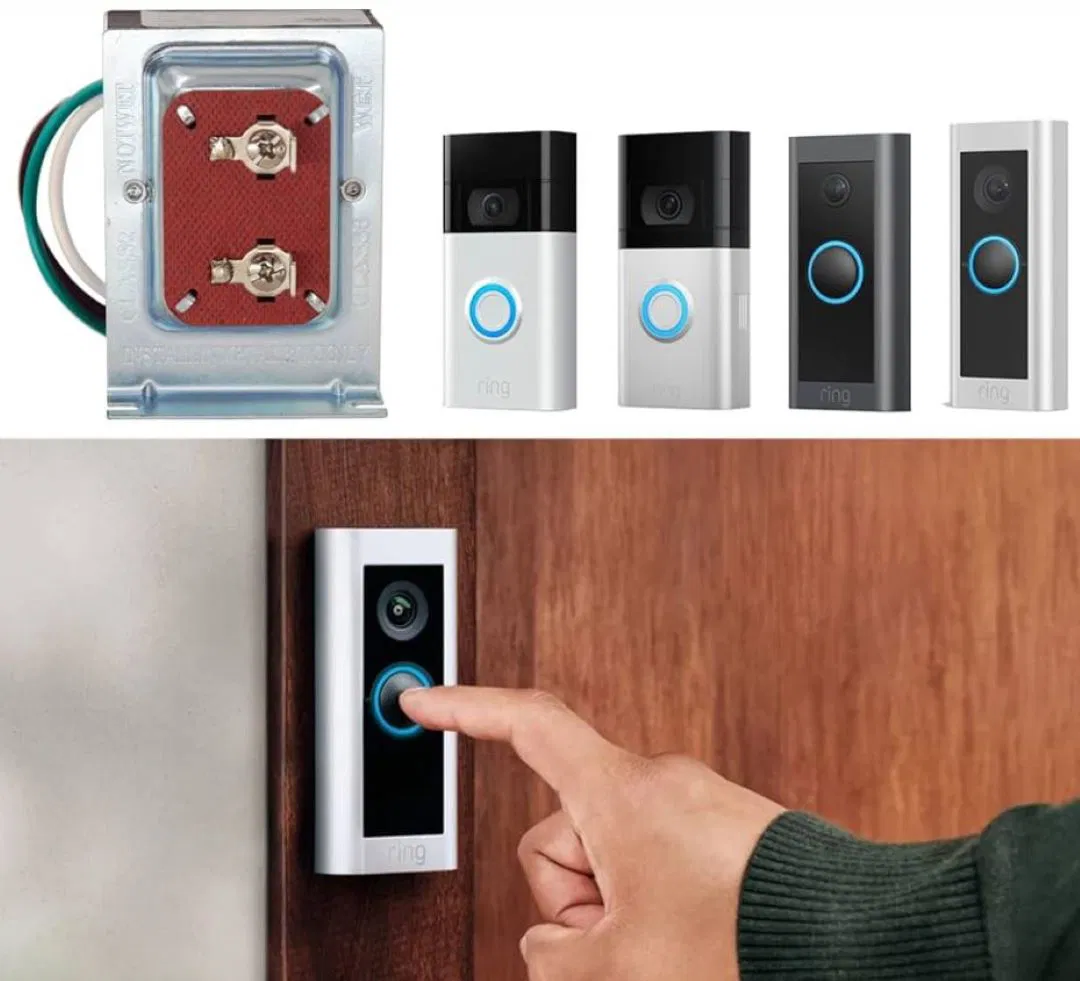
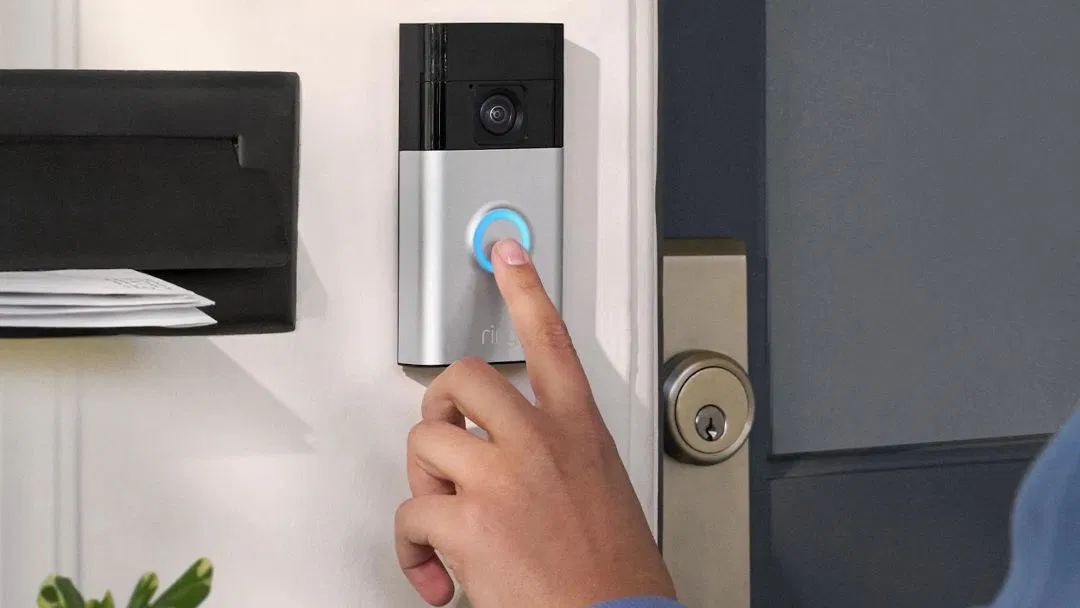
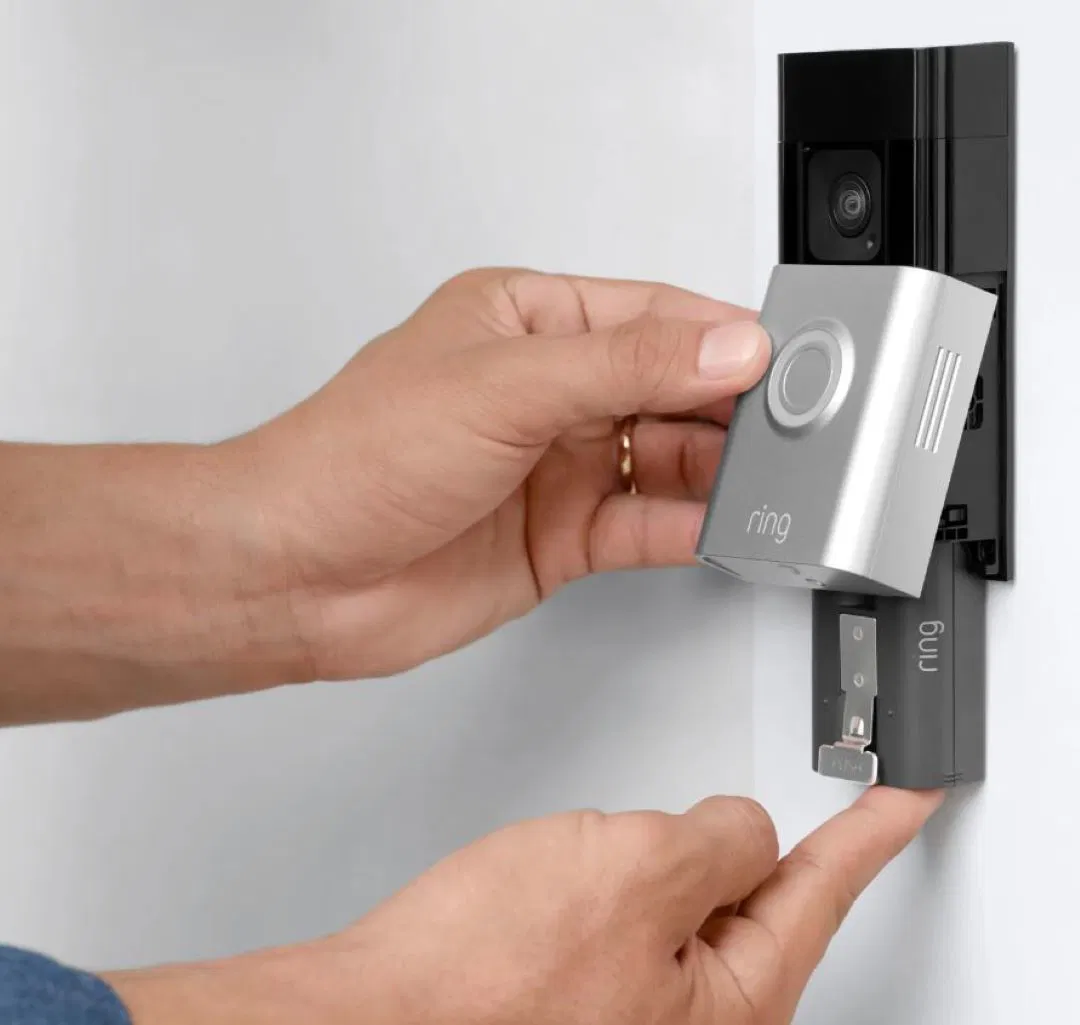
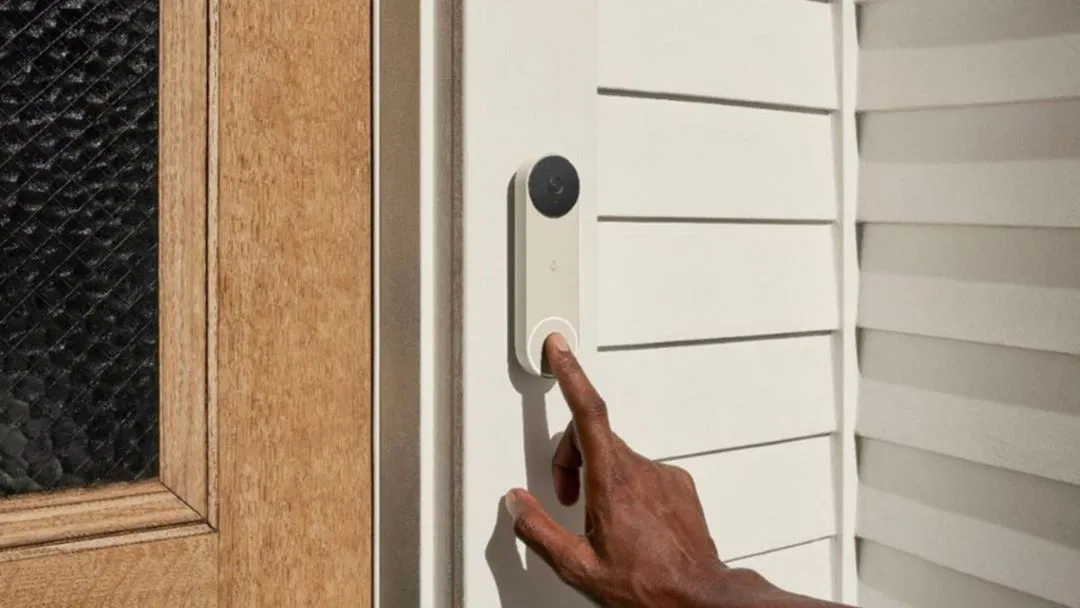
How to Replace a Doorbell with a Ring Doorbell?
How to Replace a Wired Doorbell with a Wireless Doorbell: Doorbell Wiring Replacement
How Much Does Doorbell Replacement Cost?: Wired and Smart Doorbell Replacement
Can You Replace Just the Doorbell Button?

Do I Need an Electrician to Replace a Doorbell?
Do I Need to Turn Off Power to Replace the Doorbell Button?
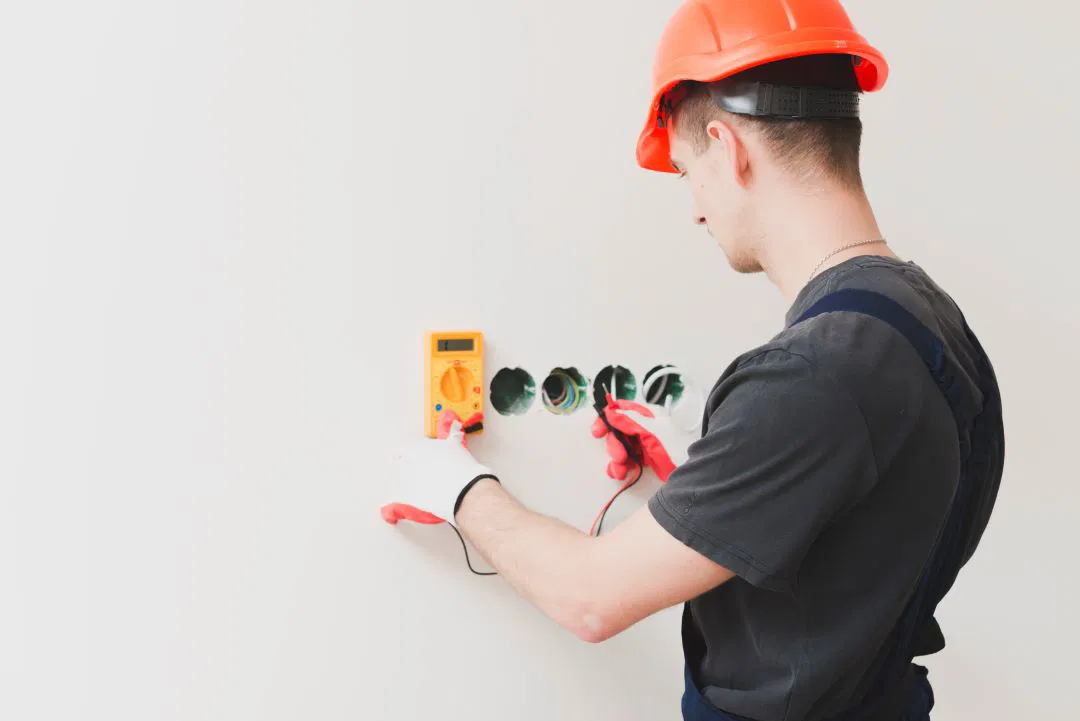
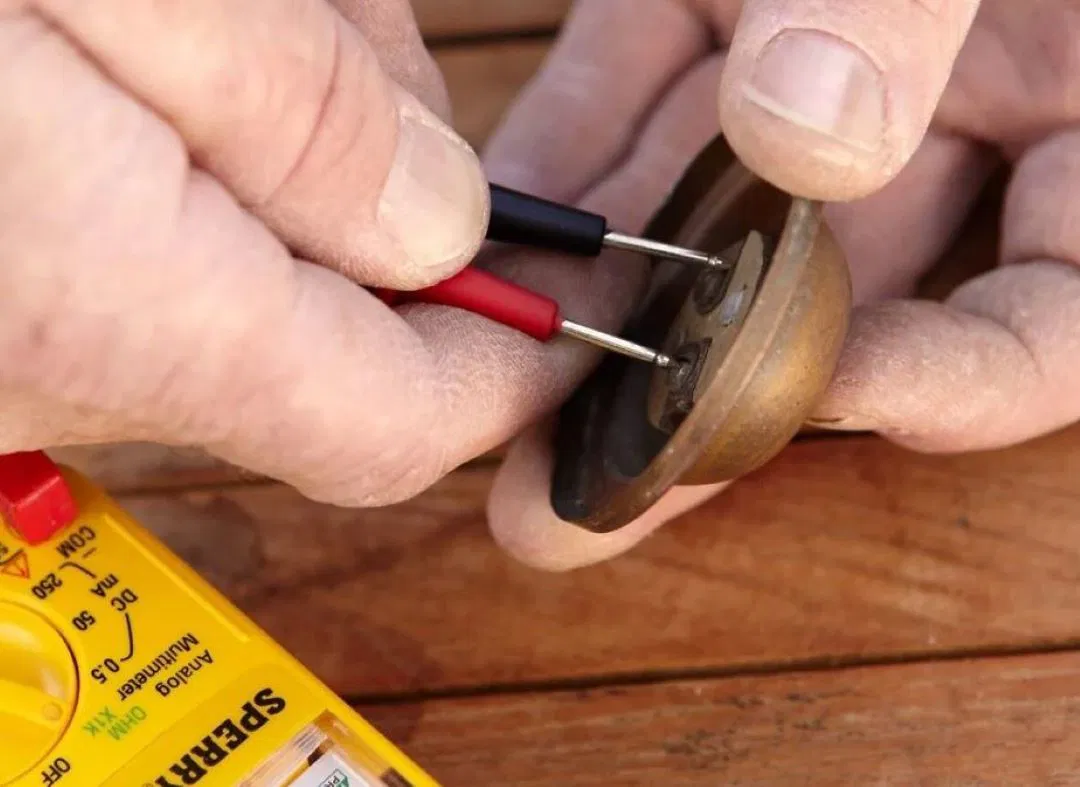
How Do I Know If My Doorbell Switch Is Bad?